Join us in tapping into nature’s magic!
Learn how to collect maple sap and transform it into syrup with us.
A SWEET ADVENTURE
Maple syrup magic begins in late winter, around February and March, when temperatures dip below freezing at night and rise during the day.
For about 4-6 weeks, we tap our beloved maple trees to collect sap—the clear liquid that flows from the tree (not syrup, just yet!).
After collecting the sap, we boil it down to create that rich, sweet syrup we all love. It takes about 40 gallons of sap to make just one gallon of pure maple syrup!
This ancient process, discovered by Indigenous peoples using simple tools, has evolved into the craft we celebrate today. Join us in honoring this time-honored tradition in our community!
Our favorite supplies
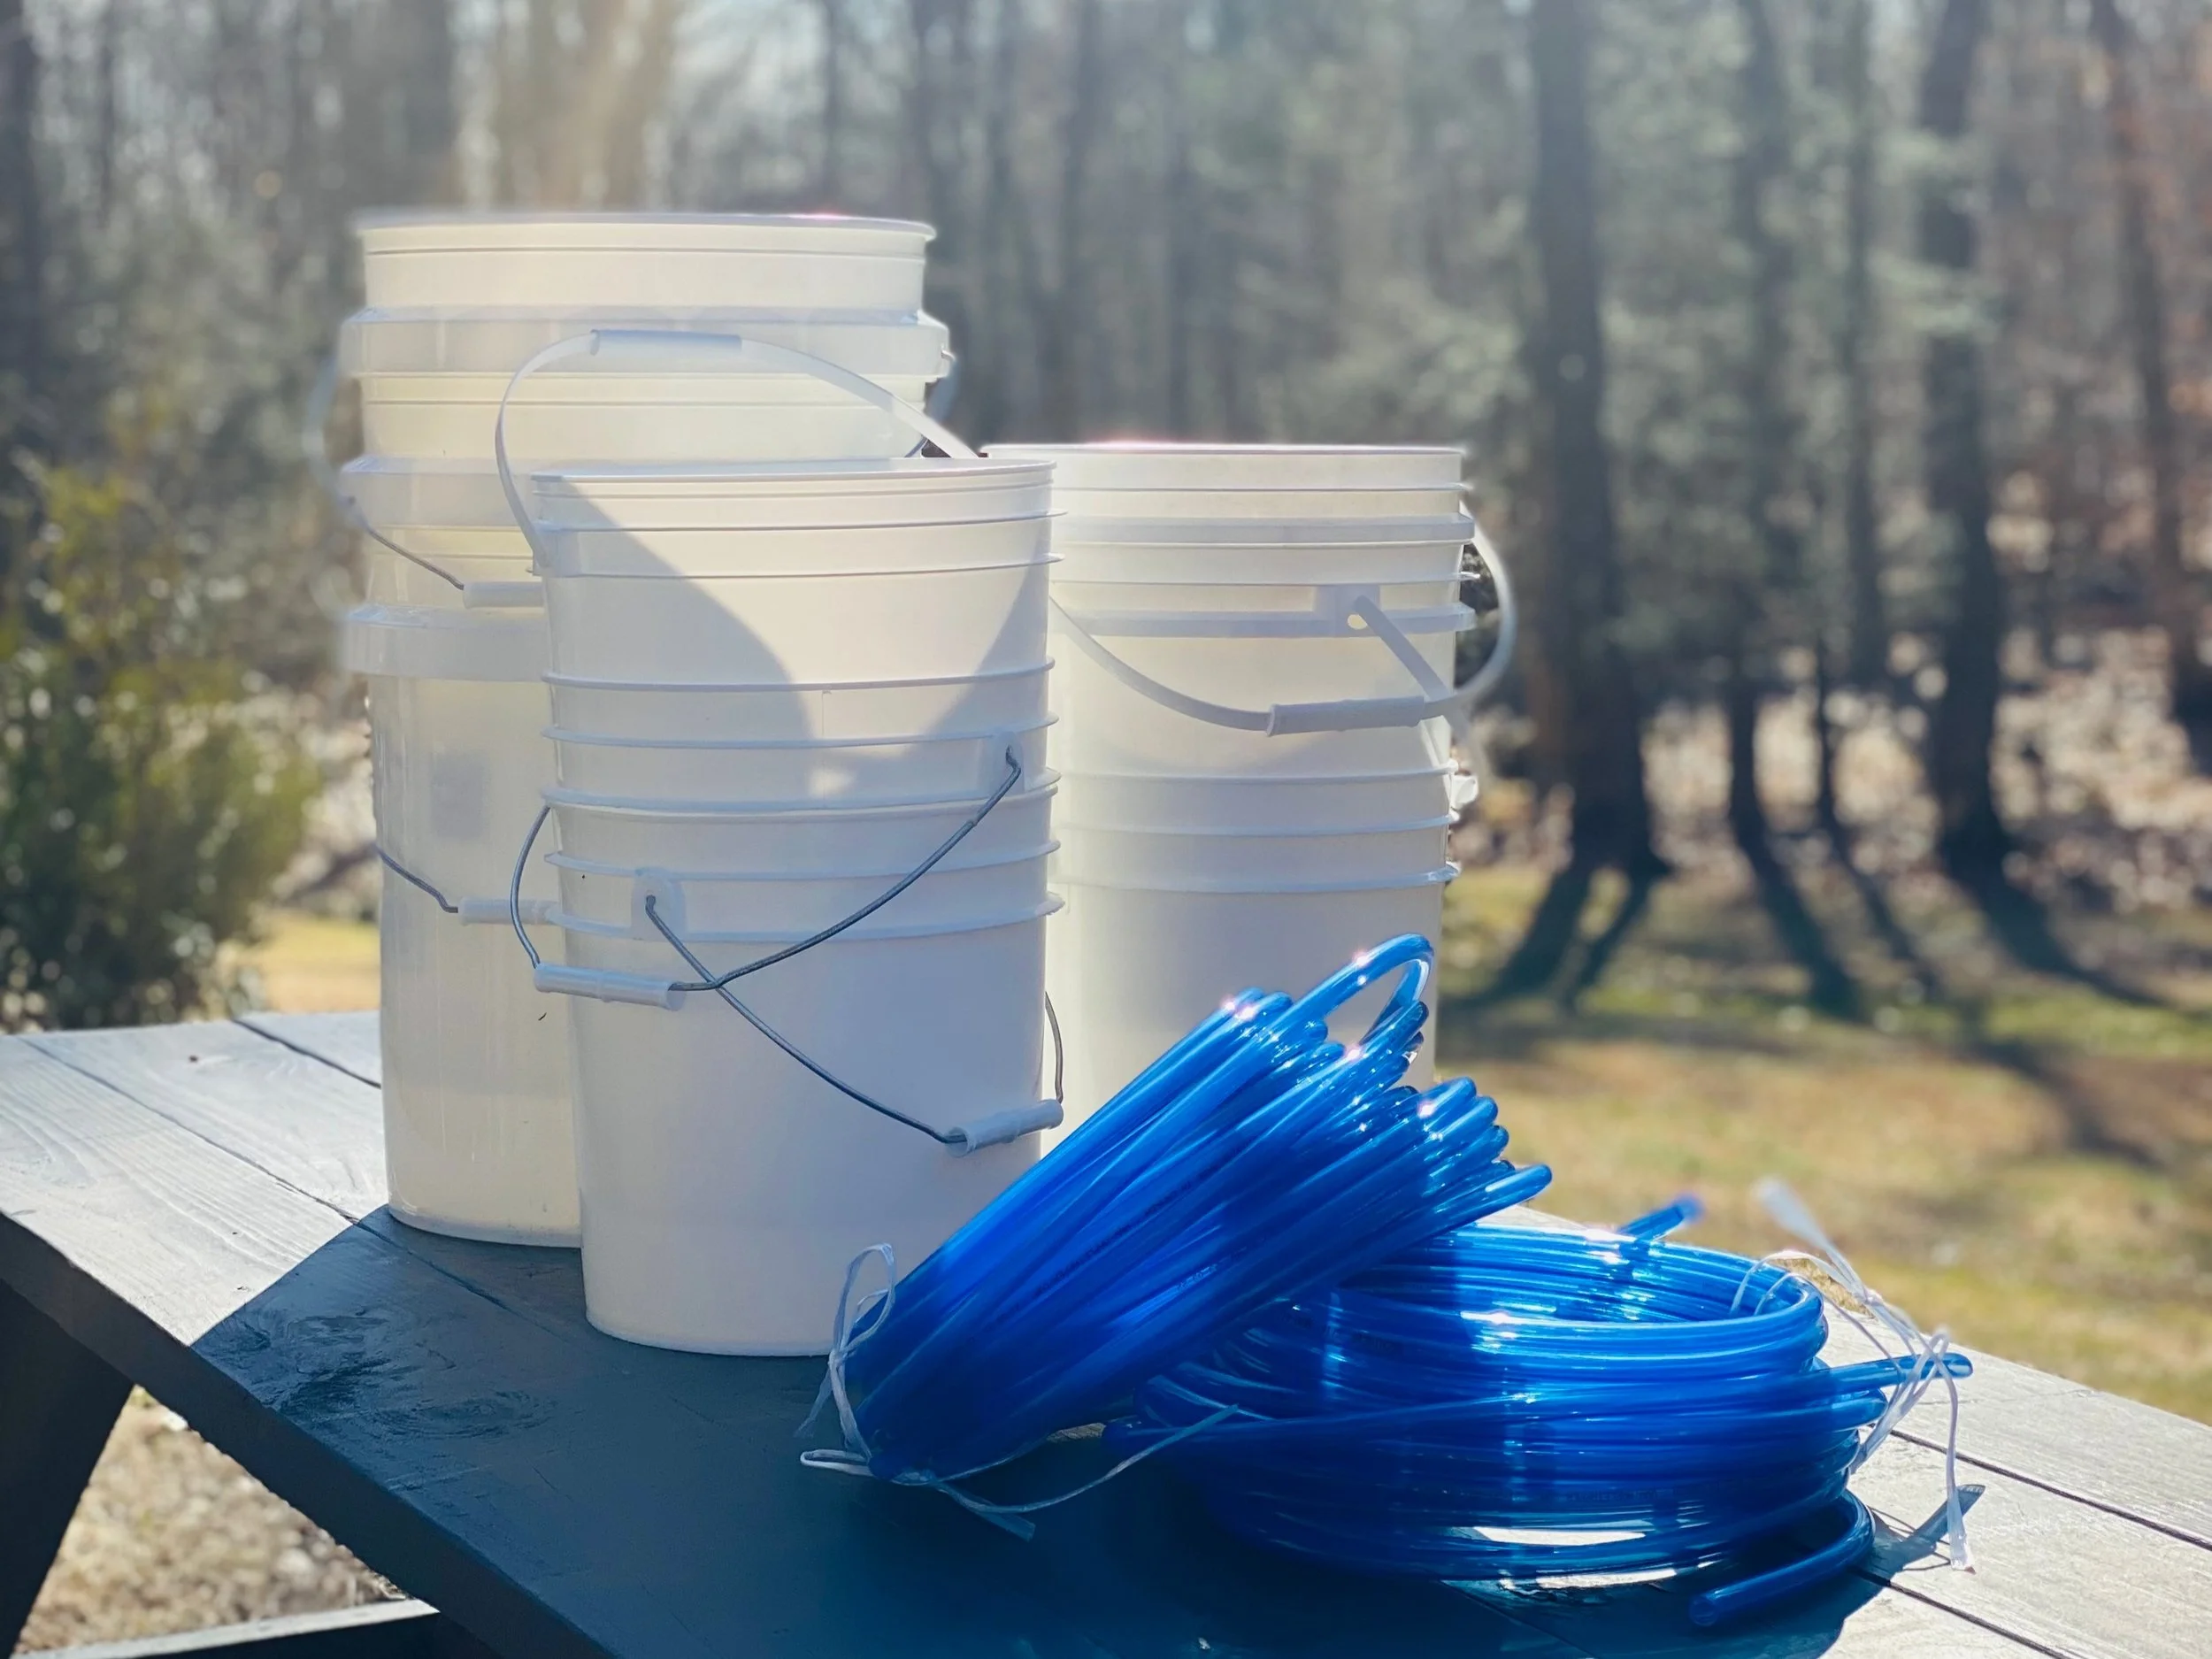
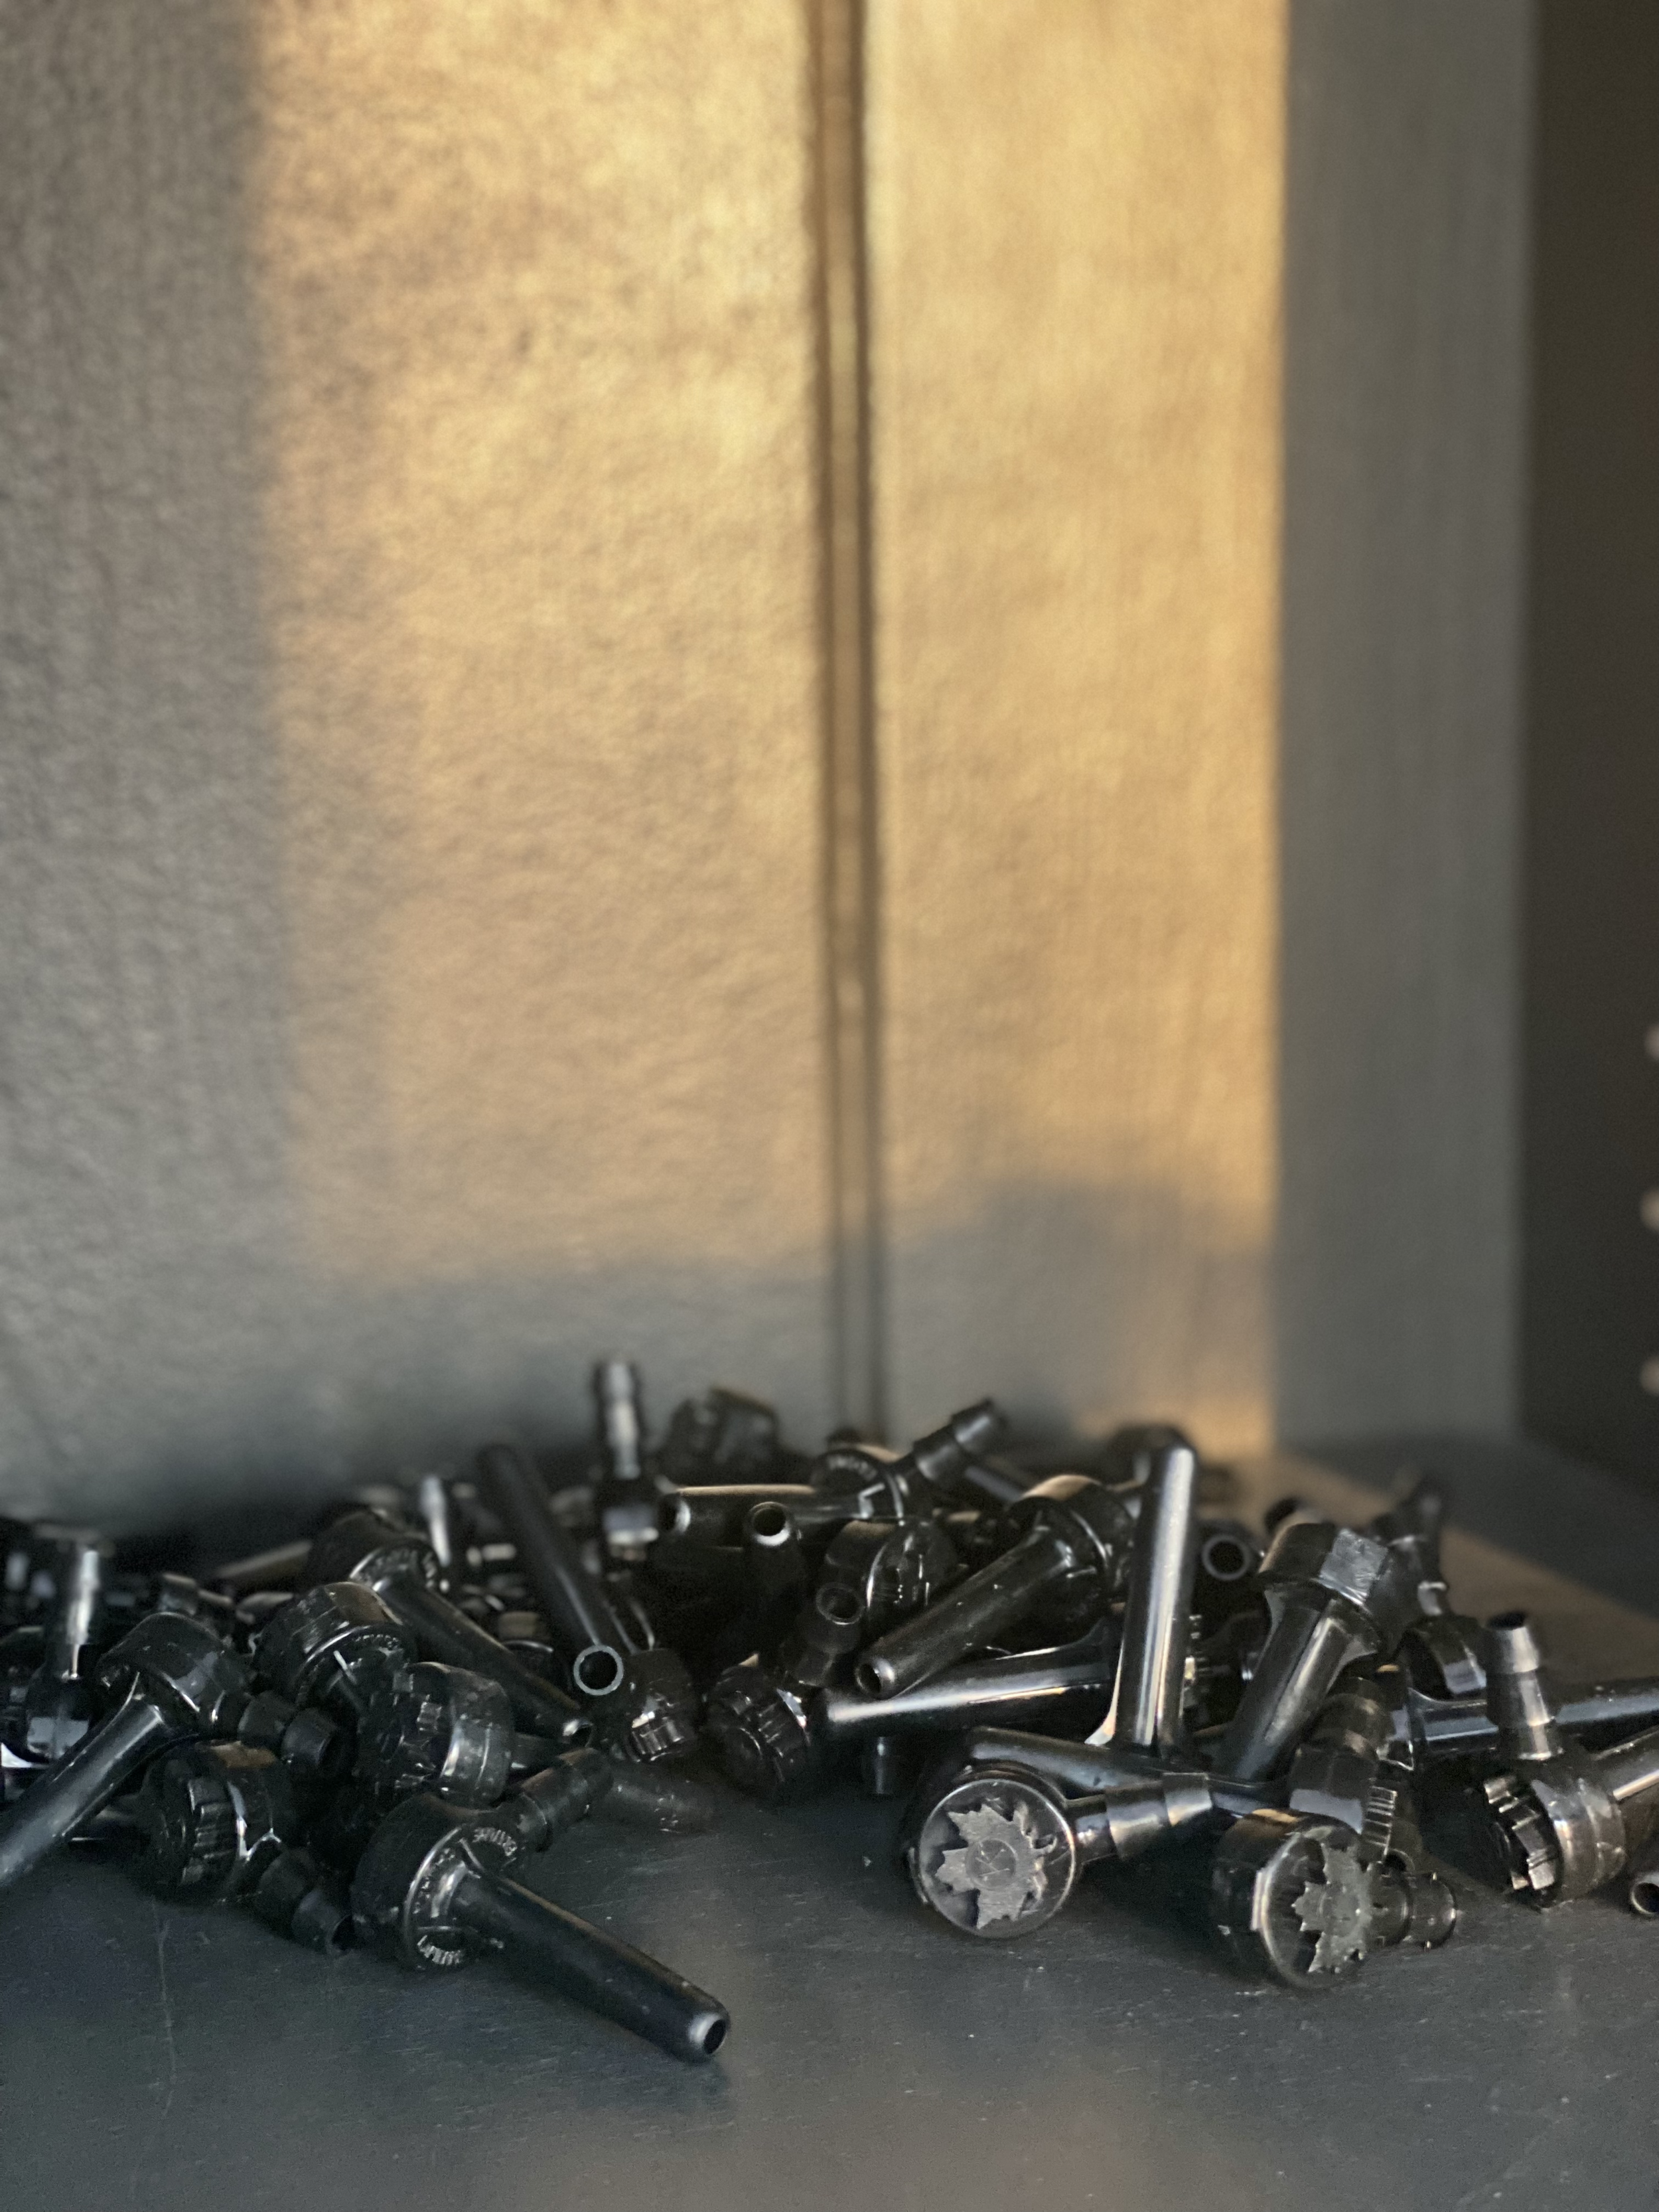
As you explore the tapping and syrup-making process, you'll encounter various equipment, such as taps (spiles) and hydrometers. To help you get started, we've put together an Amazon shopping list featuring some of our favorite tools and supplies!
How it works
Identify your maples
Tap your trees
Collect & store your sap
Filter & prep the sap
Boil, bottle & enjoy!
DO THIS IN THE FALL
〰️
DO THIS IN THE FALL 〰️
Start by identifying your maples
Begin by locating healthy sugar maples, identifiable by their distinctive bark and leaf shape. It’s possible to do this in the winter, but easier in the Fall when the trees still have their leaves!
The best trees for tapping are typically at least 10-12 inches in diameter and should have good sunlight exposure for optimal sap flow.
Identify characterstics
Look for trees with grayish, smooth bark and broad, five-lobed leaves that turn vibrant colors in the fall.
Measure diameter
Use a measuring tape to find the circumference of the tree at 4.5 feet above the ground. Aim for trees at least 10-12 inches in diameter.
Check sunlight exposure
Ensure the tree receives adequate sunlight, as sugar maples thrive in sunny spots for optimal sap flow.
Inspect tree health
Look for vibrant leaves and a strong trunk while avoiding trees with dead branches or signs of disease.
Mark trees
Tag the identified healthy trees with biodegradable tape to remember their locations for tapping later on.
Download & print our quick start guide with tips for identifying and tapping your trees!
Next up, tap your trees!
Once you've identified your maples, drill a small hole and insert a tap (spile) into the hole. This allows the sap to flow from the tree into a collection bucket or bag, ensuring minimal impact on the tree’s health during the tapping process.
Gather tools
Gather the essentials: a cordless drill with a 5/16-inch bit, food-grade metal or plastic taps (spiles), and food-grade collection buckets or bags.
Drill the hole
Select a location about 4-5 feet above the ground, away from previous taps or knots. Make a clean hole 2-3 inches deep, angled slightly upward to help sap flow. Move the drill in and out in a single motion so you don’t clog the hole with wood shavings. You can use a skinny twig to clear out any excess wood shavings.
Insert the tap
Push the spile into the hole until it fits snugly (tapping it with a rubber mallet helps). Place your collection bucket or bag under the spile to catch the sap. Ensure there are no leaks and that sap flows smoothly into the container.
Collect & store your sap
As the sap flows, collect it daily to prevent spoilage. Store the sap in a cool, dark place, ideally in containers that keep it airtight until you’re ready to process it. Fresh sap can spoil quickly, so aim to boil it within a few days of collection.
Filter and prepare to boil
Before boiling, filter the sap to remove any impurities, such as dirt or pieces of bark. We use The RO Bucket, which uses reverse osmosis to remove excess water from the sap, making the boiling process more efficient and shortening the time needed to produce syrup.
And finally…The Boil!
Transfer the filtered sap into the evaporator and heat it to evaporate the water, which concentrates the sugar content. This takes process takes many hours so grab a drink and some friends to enjoy a day by the fire!
We use a barrel stove for boiling, along with refractometers and hydrometers to monitor the sugar concentration as it cooks. Once the syrup reaches approximately 66% sugar concentration, we filter it again, bottle it while hot, and seal it for your enjoyment!
Hey there, neighbor!
If you’re local to Weston, reach out to learn how you can get involved. Tapping season begins in February, but it's never too early to start planning!
Let us tap your trees, and we'll thank you with a bottle of our delicious maple syrup!
Have your own sap? Bring it over and join us for a boil!
Stop by, hang out, and watch the magic of syrup-making happen.
FAQ
-
Maple syrup season typically kicks off in late winter, around mid-February, and runs through early spring, usually ending in late March or early April. The exact timing depends on the weather—the best days for sap flow are when the days are warm and sunny, and the nights are below freezing.
-
Straight from the tree, maple sap tastes like lightly sweetened water. It’s clear and has just a hint of sweetness. It’s not the syrupy goodness we all know and love yet, but it’s magical to taste the early stages of what will become delicious maple syrup!
-
Sap is what flows from the tree—it’s mostly water with a small amount of sugar. To make syrup, we collect the sap and boil it down to evaporate most of the water. What’s left is the thick, sweet syrup that pours perfectly over pancakes and waffles!
-
Nope! Trees produce plenty of sap every year. We only take a small portion, so it doesn’t hurt the tree or its sap production. The tree will keep producing sap throughout the season, as long as the weather stays just right!
-
Not at all! When done properly, tapping a maple tree doesn’t harm it. We use small taps that heal over after the season. It’s like the tree getting a little pinprick that it quickly recovers from.
-
It takes about 40 gallons of sap to make just one gallon of syrup! That’s why we have to collect a lot of sap and boil it down over hours and hours to get the delicious syrup we all love.
-
Absolutely! Maple tapping is a perfect hands-on activity for kids. They’ll learn about nature, see the whole process, and get to taste the final product. Plus, it’s a great way to get them outdoors during the colder months!
-
Only certain types of trees produce sap that can be made into syrup. Sugar maples are the most popular, but red maples and silver maples also work. Each tree’s sap has its own unique flavor profile, but sugar maples are the sweetest.
-
That depends on the size of the tree! A healthy, mature maple tree (about 12 inches in diameter) can usually support one tap. If it’s bigger, say 18 inches or more, you might be able to put in two taps, but it’s best not to overdo it.
-
Each tree produces about 10 to 20 gallons of sap during the season, depending on the weather and how big the tree is. This might sound like a lot, but remember—it takes about 40 gallons of sap to make just 1 gallon of syrup. The fun is in the process, though, and every drop counts!
-
Sap is best kept cold before you boil it down. Store it in clean, food-safe containers, and keep them outside if the temperatures are still chilly, or put them in a fridge or cooler with ice. Sap can spoil if it gets too warm, so boiling it as soon as possible is always best!


